Frequently Asked Questions

Business Banking General Information
What is Leader Business Banking?
Leader Bank’s Business banking is a sophisticated online and flexible funds management system for our corporate clients. Within your office, anything from reviewing balances, transferring funds, requesting stop payments, and reviewing corporate cash handling is accessible right from your personal office.
What types of activities does Business Banking provide?
This browser-based product is designed for five general activities: Summarizing Account Information, Performing Fund Management Activities, Performing File Management Activities, Setting up New Employees and Reviewing Fund and File Transfers.
Summarizing Account Information
View a list of all your accounts at Leader Bank by clicking on the “Accounts” drop-down menu. From the account list, a specific account can be selected to view account detail and to perform research functions.
Fund Management Activities
Review assigned fund transfer templates, issue fund transfers and inquire into fund transfers that have already been issued. You can also select transactions, sort transactions and export transactions to personal financial management applications (such as Microsoft Money or Intuit’s Quicken).
File Management Activities
Review assigned file transfer templates, issue file transfers and inquire into file transfers that have already been issued.
Administration Activities
Add new employees, designate employee account access, establish fund transfer templates, and more.
Reviewing Fund and File Transfers
An assigned corporate administrator can review issued fund and file transfers before they even reach the bank.
How do I enroll in Business Banking?
Leader Business Banking is available to any client with a Leader Bank business account. You can sign up for Leader Business Banking by contacting your account representative. We will work with you to establish the appropriate plan and service levels for your individual business needs. Once your enrollment application has been approved, you will receive your usernames, tokens and/or passwords to access your account.
Is Business Banking safe?
Yes. Leader Bank’s Business Banking is protected with state-of-the-art security technology.
How do I access my Business Banking account?
Once your Business Banking enrollment application has been approved, you will receive your usernames, tokens and/or passwords. Please follow the below steps to login:
- Go to www.leaderbank.com.
- Find the Online Banking login box in the upper right corner:
- Click the Business tab
- Enter your username and click on “Log In to Your Account.”
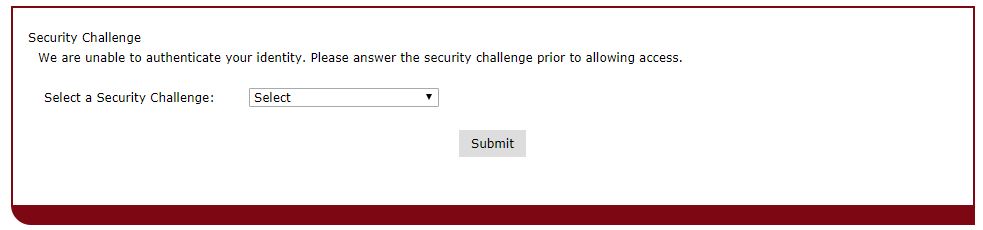
- Answer the Security Challenge question.
- Enter your password or token number, and click Log In.
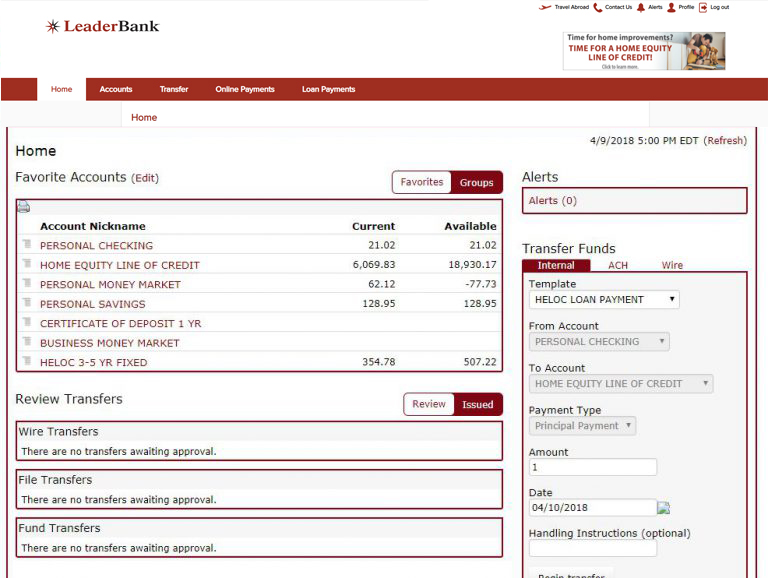
- The Home page is shown below:
Account Activities
Can I choose what accounts appear on my favorite list?
Yes, you can select up to 12 accounts to add to the favorite list. By default, if there are less than 12 accounts; all of them will be displayed. To add or remove an account to the favorite list, follow the instructions below:
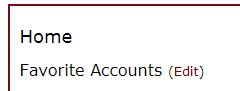
- Click Edit Link next to “Favorite Accounts” heading.
A box will open displaying all the accounts: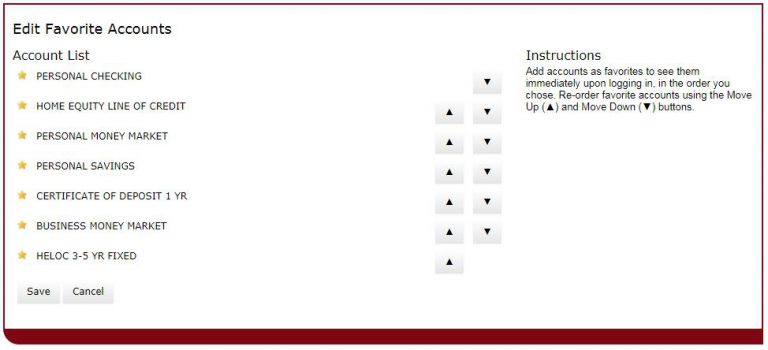
- Select or unselect the available accounts using the star icons to the left of the accounts. Use the arrows to select the order in which you want to view the accounts. When done, click Save.
How can I view my account information?
All of your accounts with Leader Bank are viewable from the “Accounts” dropdown menu.
Where can I view my transaction history?
- Select the desired account from the Home screen or the Accounts drop down list.
- Scroll down to the “Transactions” section.
- Use the “Search Transactions” box on the right to search by different date ranges and transaction types. For example:
- Current Business Day– Displays the account related transactions for that particular business day.
- Previous Business Day– Displays the account related transactions for the previous business day.
- Current Statement– Displays the Current Statement Transactions for that particular transaction month.
Previous Statement– Displays the Statement Transactions for the previous transaction month.
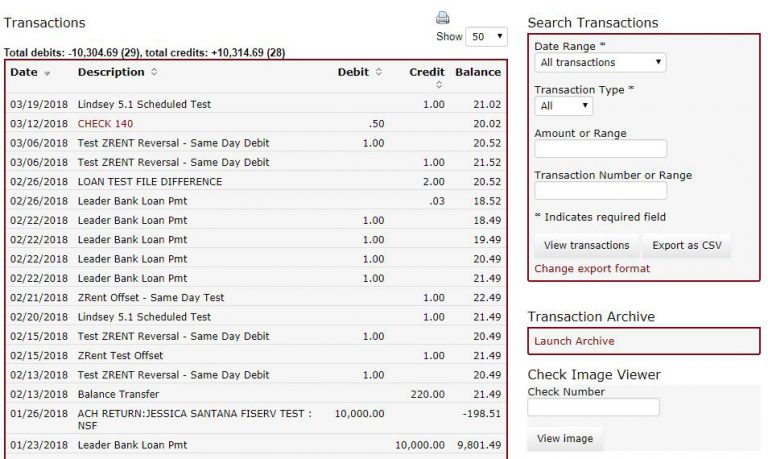
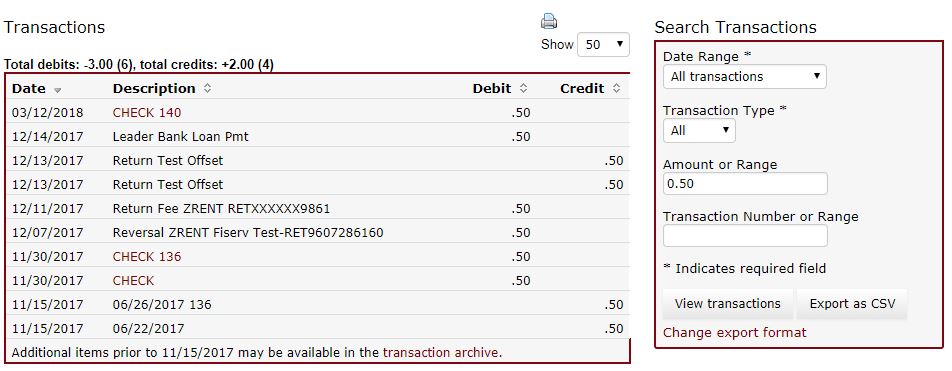
How do I search for a particular transaction in an account?
- Select the desired account from the Home screen or Accounts drop down list.
- Use the “Search Transactions” box on the right to specify your search parameters. Click “View Transactions.”

- The transactions that meet the parameters you set will display in the Transactions section to the left:
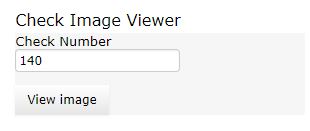
How do I search for a check image I deposited?
- Select the desired account from the Home screen or Accounts drop down list.
- Scroll down to the “Check Image Viewer” section on the right side.
- Enter the check number you wish to see and click “View Image.
”
How do I download my transaction history?
- Select the desired account from the Home screen or Accounts drop down list.
- Scroll down to the “Search Transactions” section on the right side to specify your search parameters. Click “View Transactions.”
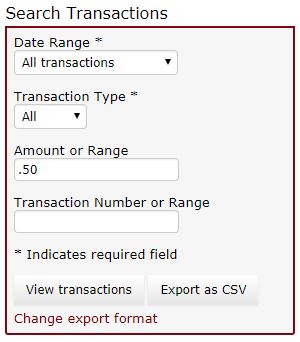
- Click “Export as CSV” or “Change export format” if you wish to export in a format other than CSV.
- The exported file will be clickable at the bottom of the window.
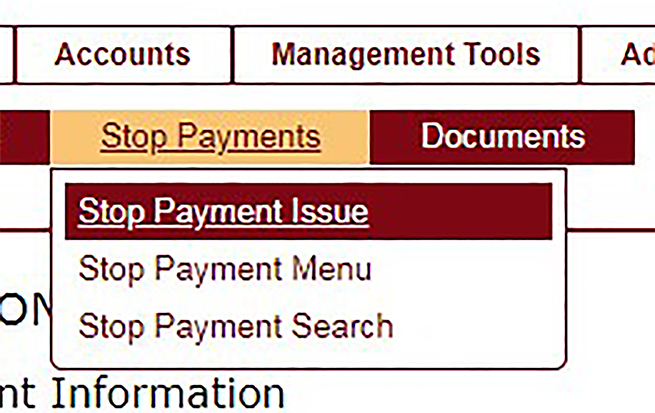
How do I stop a payment on an account?
Stop Payments allow you to request a stop payment on any one of your assigned corporate accounts. From the “Stop Payment” tab, you can select the Stop Payment Menu, perform a Stop Payment Search and issue a Stop Payment. The associated account will be charged a stop payment fee for each request.
- Select the account number for which you want to stop the payment.
- Select the desired account from the Home screen or Accounts drop down list.
- Enter all the required fields highlighted with asterisks. Click Next.
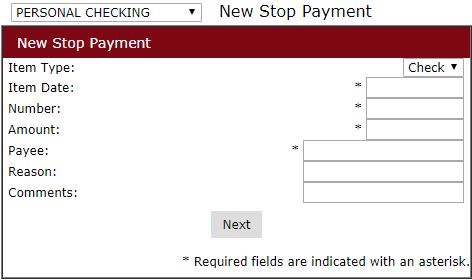
- Verify information and click “Submit.”
- A Confirmation Summary will provide you with a number that indicates the stop payment was issued and is being processed at our financial institution.
How do I search for my stopped payments?
“Stop Payment Search” allows you to search for specific stop payments you have already issued. “Stop Payment Search” can be categorized by date, item number, or amount.
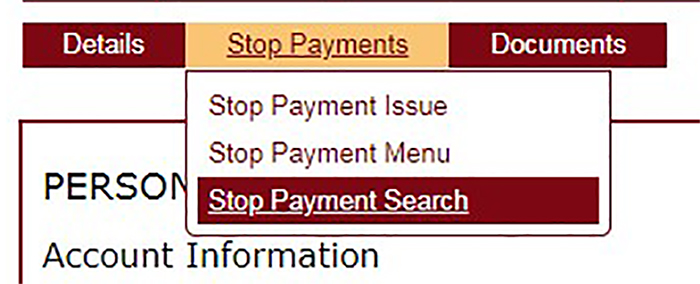
- Select the desired account from the home screen or Accounts drop down list.
- Select the “Stop Payment Search” option from the “Stop Payments” tab as shown below:
- Any one or all of the following search criteria can be used to narrow the list of items. “Stop Payment Search” includes:
- Item Date
- Number
- From/Through Amount
- Sort By
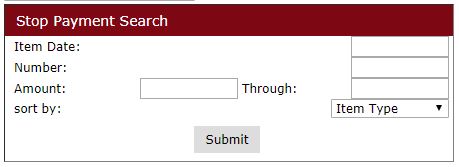
- Click “Submit”. All your stop payments requests will show up on a new page.
How do I transfer between my accounts?
Any transfer can be made by creating a fund transfer template. The template might be a one-time transaction, or can occur on a more frequent basis, depending on the purpose.
Add a new template using one of the methods below:
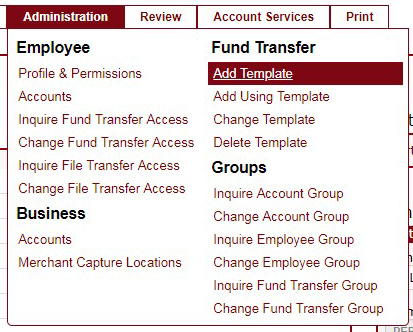
- Select “Add Template” from the Administration tab as shown below:
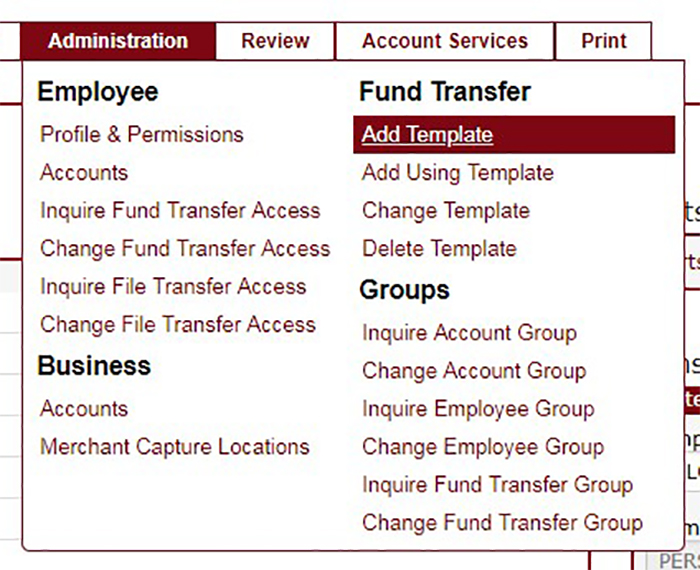
- Select “Internal” for the Fund Transfer Type.

- Click “Submit”
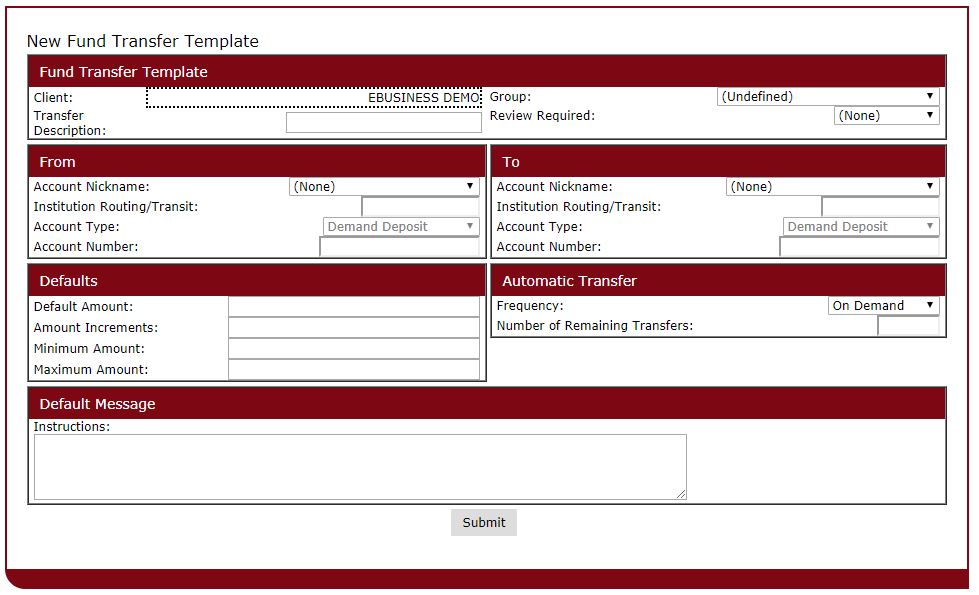
- Give the template a name, select the internal accounts for the transfer and the amount to be transferred. Click “Submit.”
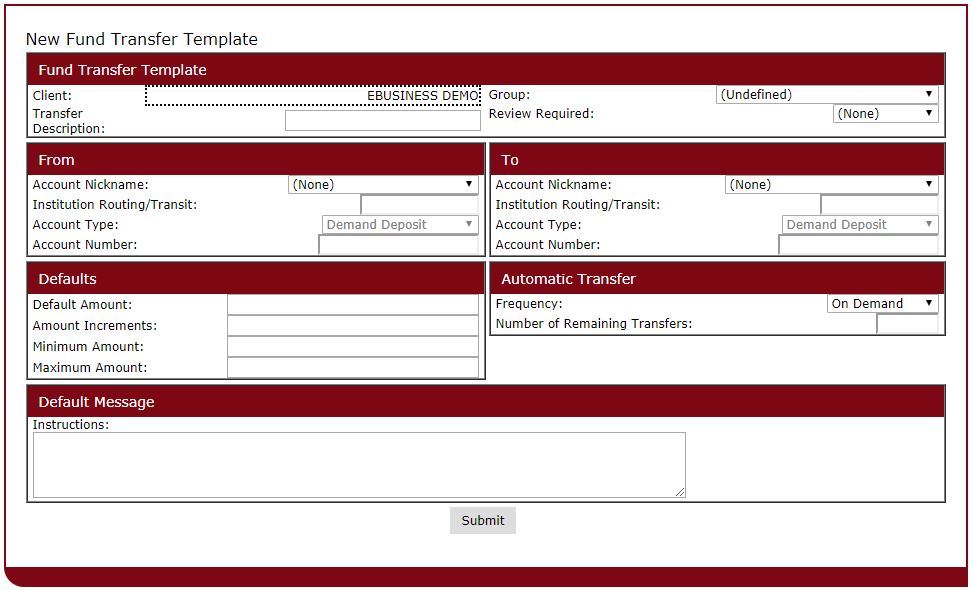
- You should get a confirmation number.

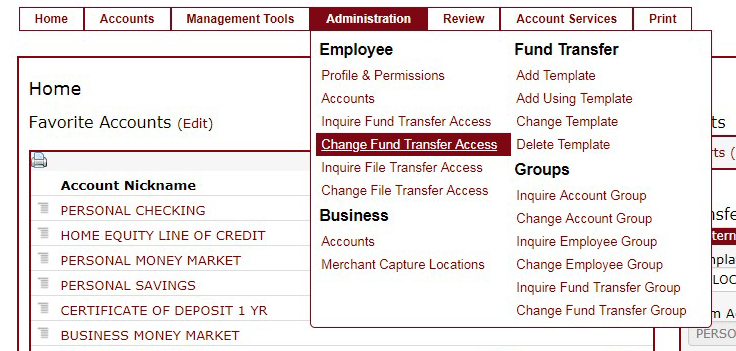
- Change Fund Transfer Access to allow the employee or yourself to submit the transfer. Select the “Change Fund Transfer Access” option from the “Administration” tab.

- Search for the employee by either employee group, or name. If both are unknown, select “All.”

- Select the employee and update their access on the applicable templates.
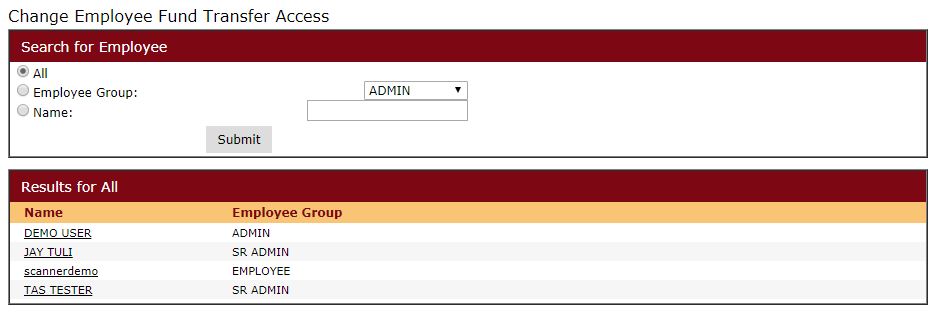
- Click “Submit.”
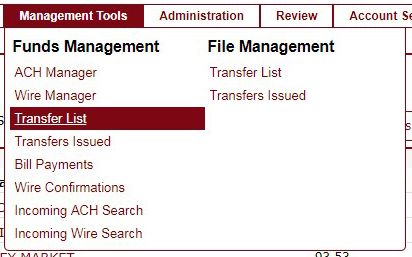
- The employee can view the transfer request by selecting “Transfer List” from the “Management Tools” tab.

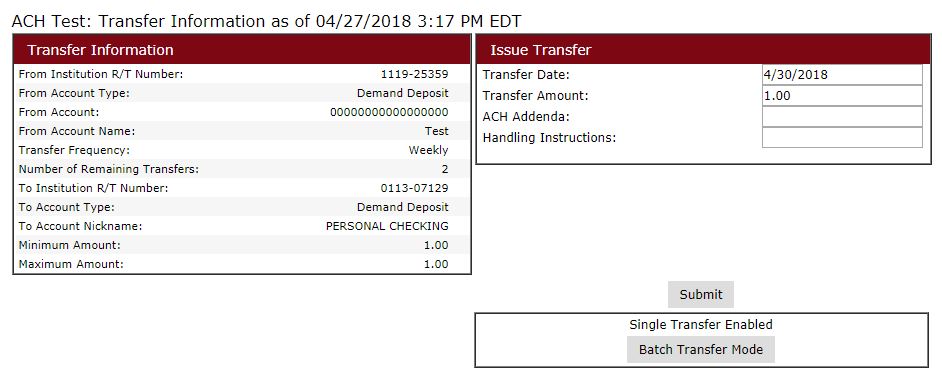
- To complete the transfer, the employee has to select the transfer request, enter the amount to be transferred and click “Submit.”
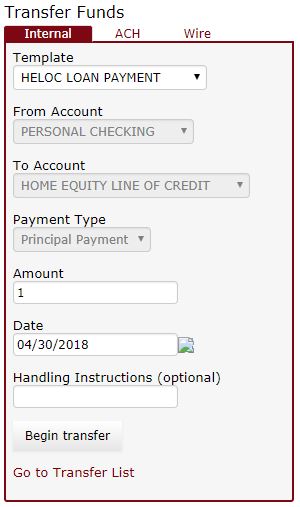
- Alternatively, if the employee is using a recurring template, they can use the “Transfer Funds” widget on the Home page as shown below:

How do I make a wire transfer?
To make a wire transfer, you need to either create a new wire transfer template, or use an existing one from the Transfer Funds widget on the Home page.
- Select “Add Template” from the Administration tab as shown below:
- Select “Domestic Wire” or “Foreign Wire” for the fund transfer type.

- Click “Submit.”
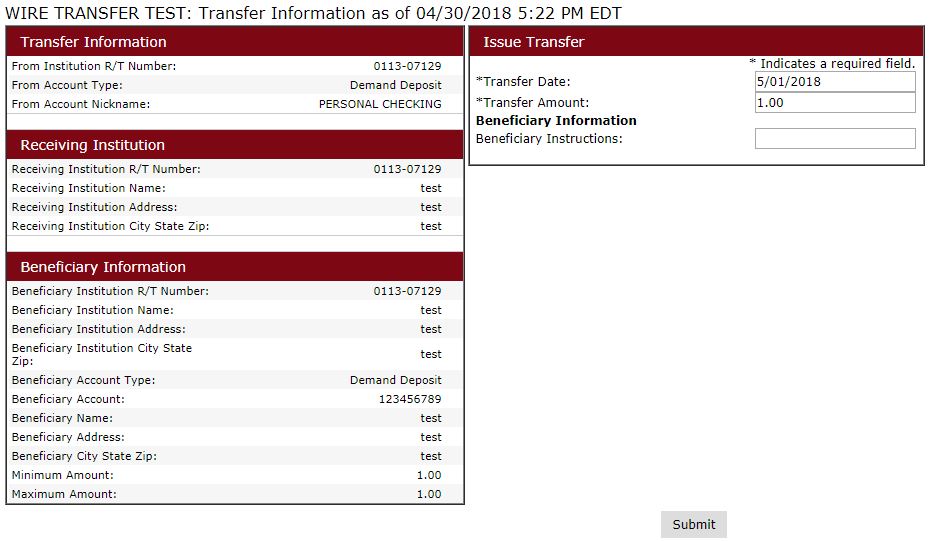
- Give the template a name, put in the correct receiving and beneficiary information. Click “Submit.”
- You should get a confirmation number.
- Change Fund Transfer Access to allow the employee or yourself to submit the wire. Select the “Change Fund Transfer Access” option from the “Administration” tab.

- Search for the employee by either employee group, or name. If both are unknown, select “All.”

- Select the employee and update their access on the applicable templates.

- Click “Submit.”
- The employee can view the transfer request by selecting “Transfer List” from the “Management Tools” tab.

- To complete the transfer, the employee has to select the wire request, enter the amount to be transferred, and click “Submit.”
- Alternatively, if the employee is using a recurring template, he can use the Quick Transfer widget on the Overview page.
How do I set up an incoming ACH transaction?
To make a new ACH transfer, you need to either create a new ACH In transfer template, or use an existing one from the Quick Transfer widget on the Home page. Please note that you must be approved to have access to this feature. Please contact your account manager to gain access.
- Select “Add Template” from the Administration tab as shown below:

- Select “ACH In” as the fund transfer type.
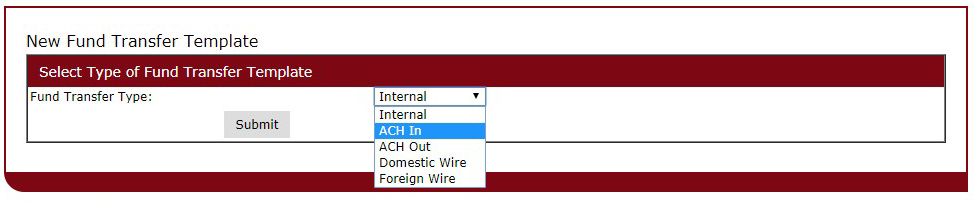
- Click “Submit.”
- Give the template a name, put in the correct receiving and beneficiary information.
- You should get a confirmation number.
- Change Fund Transfer Access to allow the employee or yourself to submit the ACH. Select the “Change Fund Transfer Access” option from the Administration tab.
- Search for the employee by either employee group, or name. If both are unknown, select “All.”

- Select the employee and update their access on the applicable templates.

- Click “Submit.”
- The employee can view the transfer request by selecting ‘Transfer List’ from the Management tools tab.
- To complete the transfer, the employee has to select the ACH request and enter the amount to be transferred.
- Review the details of the transfer on the preview screen and click “Submit.”
- Alternatively, if the employee is using a recurring template, he can use the Transfer Funds widget on the Overview page as shown below:

What documents are available to view?
There are various documents available:
- Demand Deposit Statement
- Certificate of Deposit Statement
- Loan Billing Statement
- Loan Payment Notices
- Savings Statement
To view any of the above documents follow the below steps:
- Select the desired account from the Home screen or the Accounts tab.
- Select the “Documents” button at the top of the page

- In the pop-up window select the desired document, and enter the date range.

- Click “Submit”, and the links to requested documents will appear below.

- Click the link to view the document or the disc icon to save it.
Management Activities
Where can I review my transfers?
From the Review tab, you can view any pending fund, wire or file transfers.
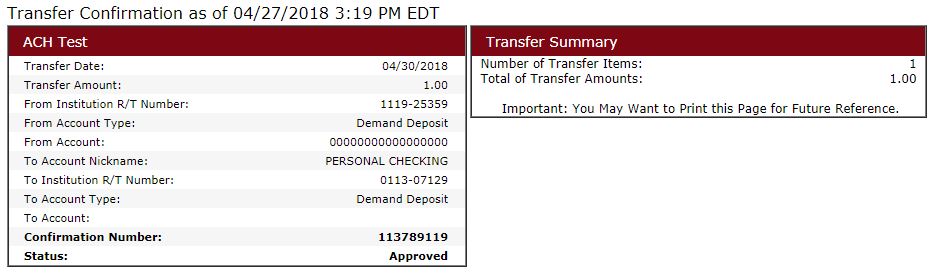
Where can I find my wire confirmations?
The wire confirmations can be found under the Management Tools tab as shown below: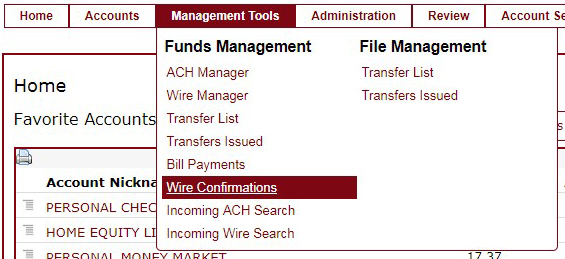
Where can I search for my incoming wire transfers?
You can search for incoming wire transfers under the “Management Tools” tab as shown below: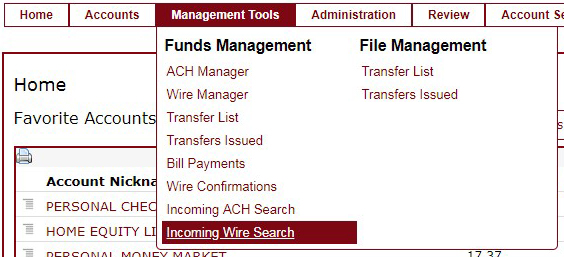
Select the account and enter any additional search criteria.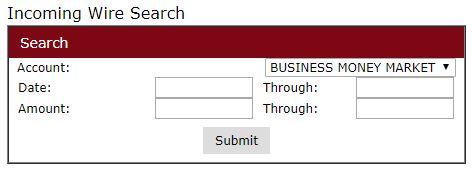
Click “Submit.”
Where can I search for my incoming ACH?
You can search for incoming ACH under the “Management Tools” tab as shown below: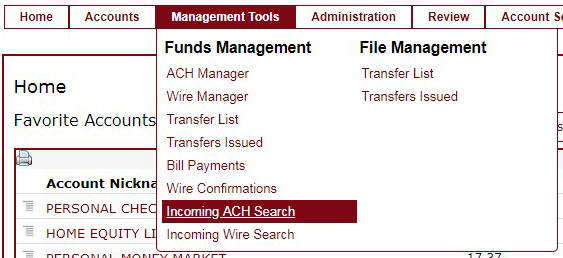
Select the account and enter any additional search criteria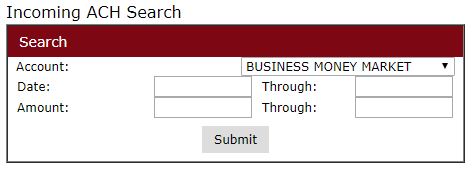
Click “Submit.”
Can I submit all my pending funds transfer from a single place?
Yes. You can use the “Transfer List” option from the “Management Tools” tab as shown below. Here you can select multiple pending requests, and submit them.
Administrative Activities
How do I add, edit, delete, or search an employee profile?
To perform admin related tasks on a profile, select the “Profile and Permissions” option under “Employee” from the “Administration” tab.
A pop-up should open up.
Select the action you want to take, and click “Submit.”
- To search an employee, select “Inquire Employee.”
- To edit an existing employee, select “Change Employee.”
- To delete an employee, select “Delete Employee.”

How do I change fund or file transfer permissions?
- Select the “Change Fund Transfer Access” option from the “Administration” tab.

- Search for the employee by either employee group, or name. If both are unknown, select “All.”

- Select the employee and change his status to “YES” next to the applicable transfer.

- Click “Submit”. Follow the same procedure for a File transfer permission change.
- The employee can view the transfer request by selecting “Transfer List” from the “Management Tools” tab.

How do I change account associated permissions?
- To perform administrative tasks on a profile, select the “Profile and Permissions” option under “Employee” from the “Administration” tab.

- Select “Change Employee” option and click “Submit.”

- Select the employee whose permissions you want to change.
- In the pop-up, select or unselect the account options for the employee.
How do I manage accounts associated with a user?
Adding an account to an employee
- Select the “Accounts” option under “Employee” from the “Administration” tab.

- In the pop-up window, enter the employee Access ID or name. Click “Submit.”

- Click the employee’s name or remove the account, using the right column.

- Click “Submit.”
A confirmation window will open up
Account Services
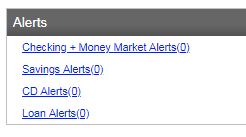
What are eAlerts?
eAlerts are notifications that you create, which are sent to you via email when specific events occur such as a check clearing or a loan payment becoming due.
How do I manage eAlerts?
- Select the eAlerts option from the “Account Services” tab as shown below:

- In the new window, select the type of alert you want to create.
- To create a new alert, click the “Setup New Alert” link. The other options available include view, delete, and edit.

- In the “New Alert” window, select the type of alert and click “Next.”

- Fill in the details of the alert and how you wish to be notified and click “Finish.”

- A confirmation window will display. Click “Done.”
- You may also view, edit and delete current eAlerts on the main eAlerts screen.
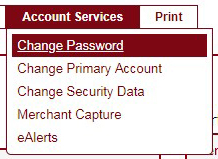
How do I change my account password?
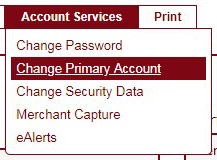
- Select the “Change Password” option from the “Account Services” tab as shown below:
- Create the new password as per the requirements mentioned on the screen.

- Click “Submit.”
How do I change my Primary Account?
- Select the “Change Primary Account” option from the “Account Services” tab as shown below:
- Select the account you want to designate as the Primary Account.
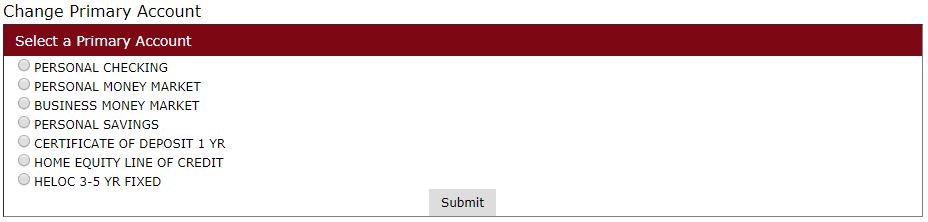
- Click “Submit.”
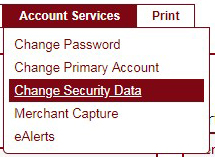
How do I change my security questions?
- Select the “Change Security Data” option from the “Account Services” tab as shown below:
- Choose new security questions, and input the answers.
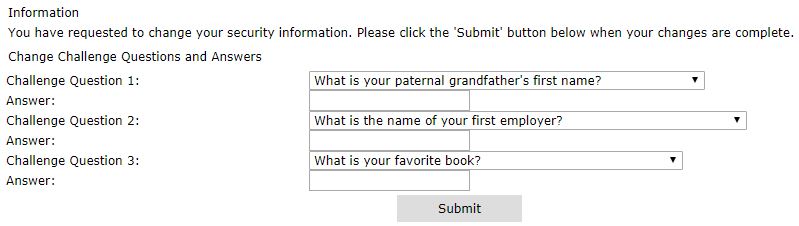
- Once done, click “Submit.”
Beneficial Ownership Rule
What is the Beneficial Ownership rule?
Effective May 11, 2018, financial organizations are required to identify beneficial owners who own, directly or indirectly, 25% or more of the equity interests in certain types of business entities that open accounts, as well as a party that controls the legal entity client.
Who does the Beneficial Ownership rule affect?
The new regulation impacts legal entities opening or maintaining accounts at any financial institution in the country, where the entity is formed through a filing at a secretary of state’s office or its foreign equivalent.
The entities generally include:
- Corporations
- LLC
- Partnerships (general and limited)
- LLP
If you are unsure whether your legal entity meets this criteria, please consult with your local Leader Bank branch or our Business Banking team.
Why was the Beneficial Ownership rule implemented? To prevent the abuse of legal entities to disguise terrorist financing, money laundering, tax evasion, fraud and other financial crimes. Who will need to be identified?
- Ownership Prong – Up to four persons who directly owns 25% or more of the legal entity client. If no person owns at least 25% of the legal entity client, then no individual is identified for this prong.
- Control Prong – Single individual with significant responsibility to control, manage or direct the legal entity client. There must be someone identified for this prong no matter what.
What information must be provided by the business entity client?
- Name
- Address
- Date of Birth
- Social Security Number (SSN) or Tax Identification Number (TIN)
- Please note: If the individual is a foreign client does not have an SSN or TIN, you may provide that person’s passport number and country of issuance as an alternative).
How will the rule impact existing accounts?
In general, you will only have to provide this requested information for any new account that you open, so this generally should not impact your existing accounts. However, you may be required to provide information under certain circumstances, such as:
- The legal entity owns a CD that will renew on or after May 11, 2018
- You request a change in signers on an existing account owned by a legal entity client; or
- The Bank has reason to believe that there has been a change in the ownership of or the management of your legal entity.
In these circumstances, a bank representative ask you to provide this information to ensure our compliance with these new rules.
What if I have further questions?
Please do not hesitate to contact your local Leader Bank branch or Business Banking team member with any questions you may have about this change.